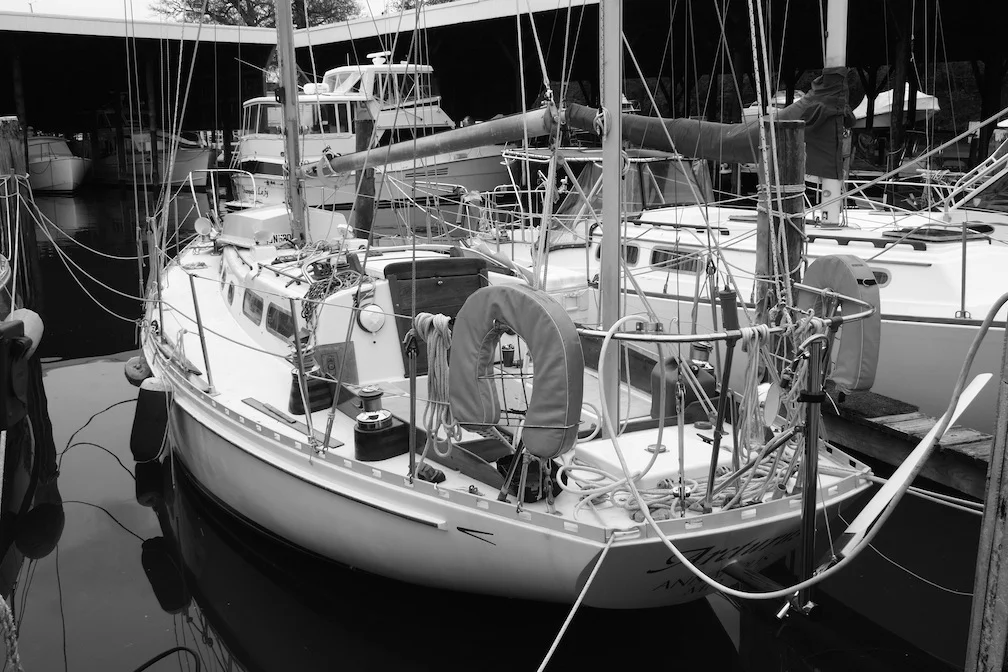
Arcturus at Sarles Boatyard
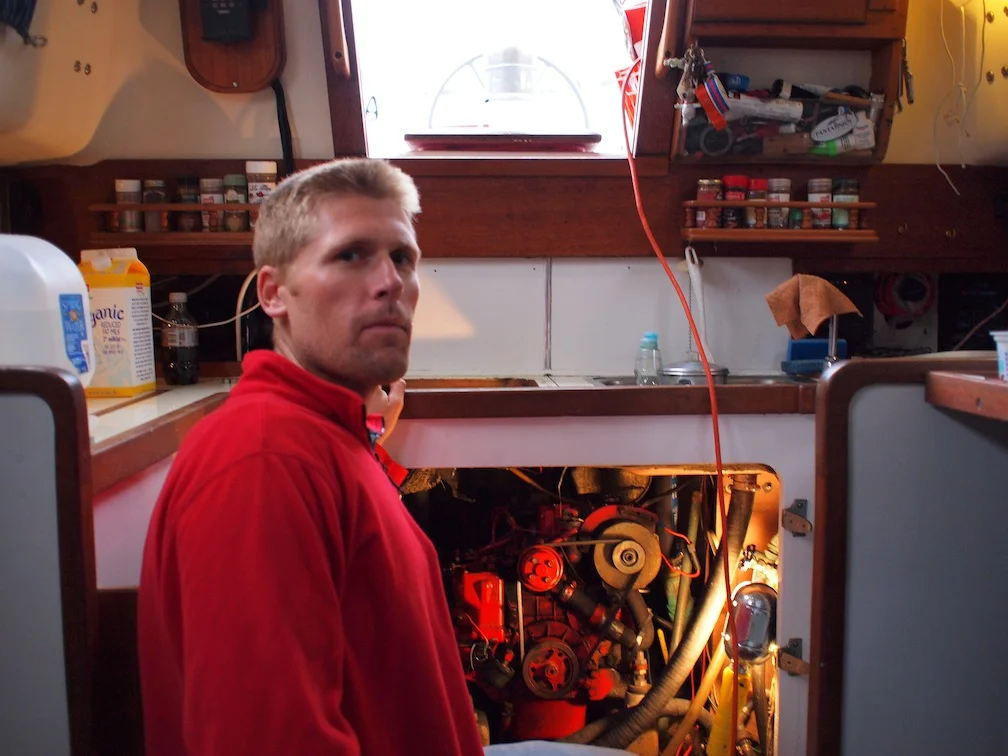
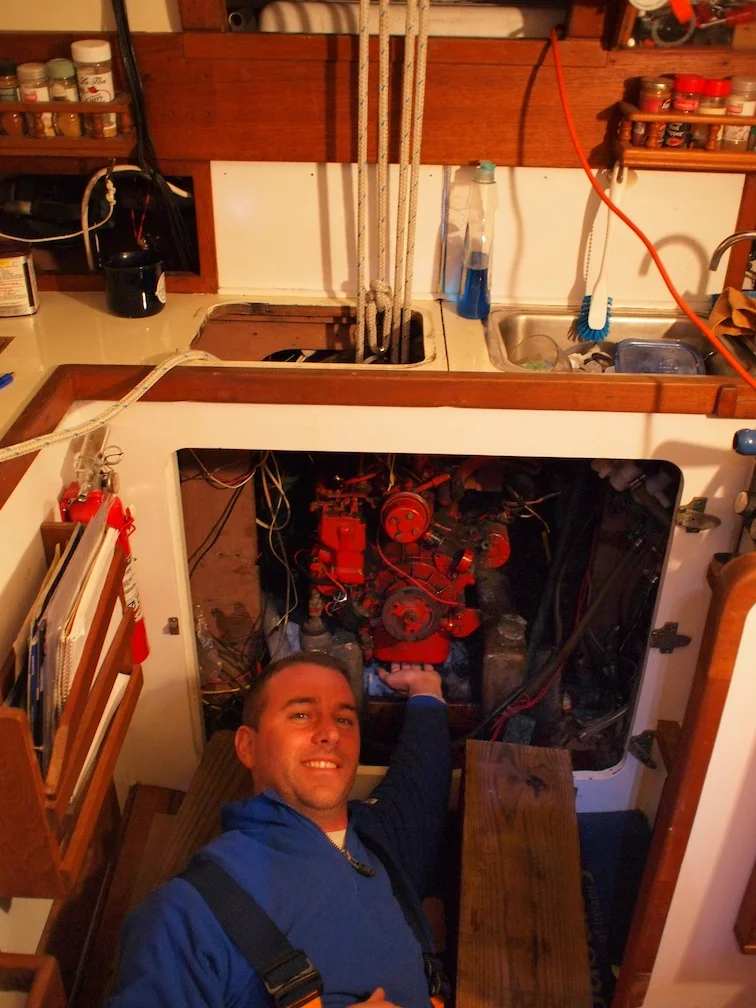
Before the final haul out - the engine was useless at this point.
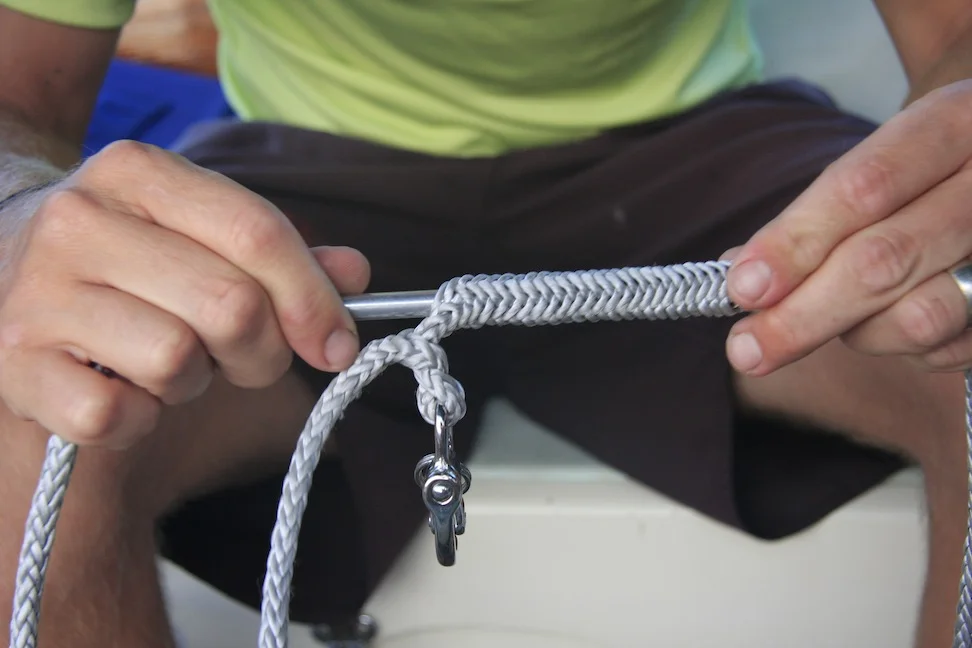
Splicing the Lifelines
We used Dynex Dux for the lifelines (as on the rig), so the only wires left are the two headstays (forestay and an inner forestay).

Lifeline Lashings
The 'small stuff' lashings replace heavy and expensive metal turnbuckles, are just as strong and look pretty cool too.
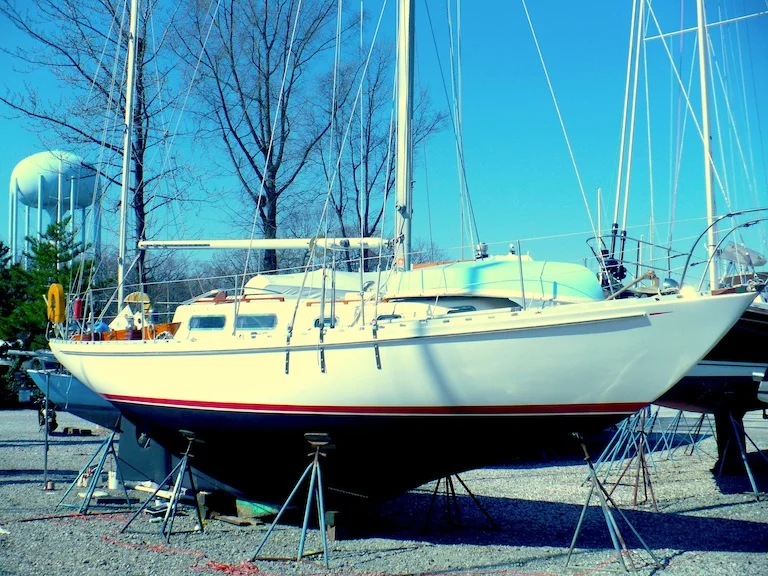
Arcturus @ Port Annapolis
The last time the boat was hauled-out before we set off across the Atlantic. She's just about finished here - note the new chainplates and the fresh black bottom paint.

Starboard Pilot Berth Re-construction...
Beginning to dismantle the pilot berth - the boat was originally designed as an offshore racing boat, with six berths below (6!). Which killed storage space, and made the seat un-sittable.

Starboard Pilot Berth Re-construction...
The teak backrest has been removed…now time for demolition.

Starboard Pilot Berth Re-construction...
Mia with a circular saw, look out!

Starboard Pilot Berth Re-construction...
We carefully measured how far back to cut it, so that we could use the shelving already in place and replace the teak backrest once complete. The idea was to have a single settee berth with shelf behind.

Starboard Pilot Berth Re-construction...
Cleaning 40+ years of accumulated dirt that was never before accessible.

Starboard Pilot Berth Re-construction...
Well, we had to put the stuff somewhere! We were still living on the boat at this point...

Starboard Pilot Berth Re-construction...
Putting the old teak backrest back on. We'd cut the top part of it flat on the table saw (it used to have higher sections fore and aft for the pilot bert cushion).

Starboard Pilot Berth Re-construction...
Done! Check out the nice little library we created too!

Centerboard Re-design...
The heavy bronze board (weighing in at 400+ pounds), with the new Dyneema cable attached.
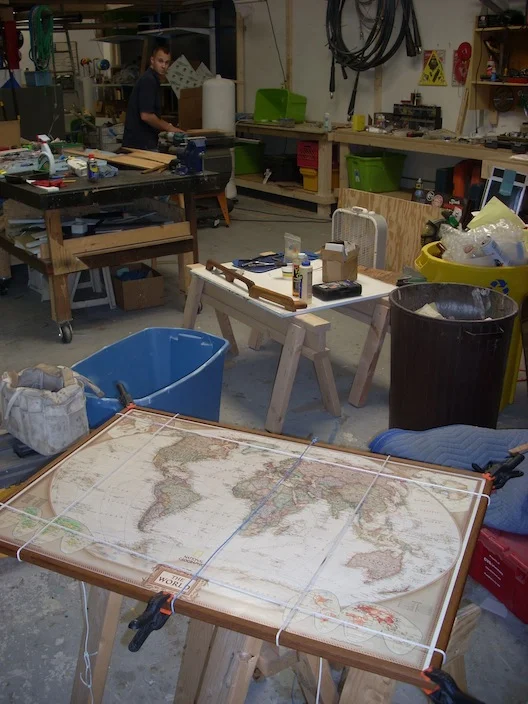
The World
Mia got me this world map poster as a gift, so we laminated it to a piece of teak plywood, built a teak frame around it, varnished over top of it and it now hangs prominently in the cabin.

Portside Re-construction
Again, a victim of too many berths - we changed the u-shaped dinette into a matching settee, with shelving behind, gaining tons of storage in the process and creating a great sea berth.

Portside Re-construction
This is after grinning the fiberglass away…all of our stuff is hiding in the vee-berth behind that tarp. This was the last day we lived aboard! We moved onto my mom and dad's Sojourner, which was right next door at Sarles.

Portside Re-construction
Carefully cutting out the lockers on the new port side settee so we could use them as the lids later.

Portsie Re-construction
Mia finishing off the lid cutouts with the saber saw.

Portside Re-construction
Rebuilding the port side from scratch.

Portside Re-construction
We glassed vertical marine ply to the hull and cabin sole, mounting the settee on top of it, and building in doors to access the storage from under the seat.

Portside Re-construction
Mounting the vertical supports that will also create three lockers under the settee.

Portside Re-construction

Portside Re-construction
Bottom part is already painted with white Bilgekote. Ready to install the settee now.

Portside Re-construction

Portside Re-construction
Beginning to build the shelving that will go behind the settee. We planned to have books on top, with clothing/food storage behind the backrest.

Portside Re-construction
Starting to come together - notice the ground away areas behind everything. We glued vertical stringers to the hull to mount the ceiling onto, so we could lay in insulation behind everything. We did this throughout the boat in anticipation of the colder sailing to come.

Portside Re-construction

Portside Re-construction
Glassing in the shelving.
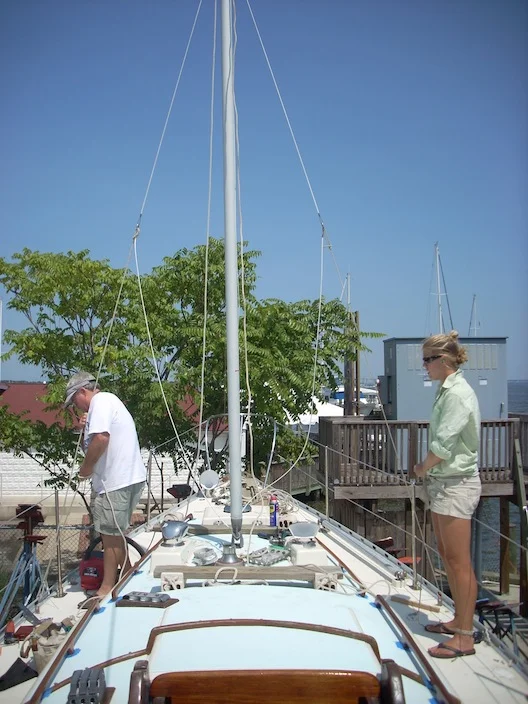
Titanium Chainplate Installation...
This was my favorite project - we moved the chainplates from interior bulkheads to mount them externally on the hull (to save the leaks through the deck, and because I like the way it looks).
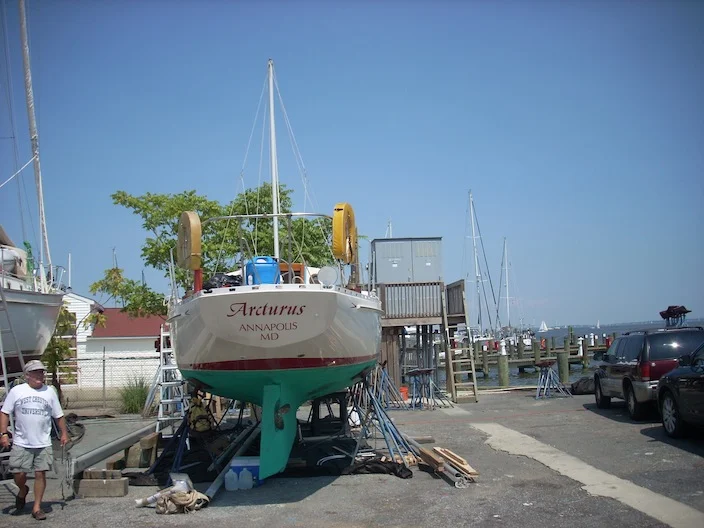
Titanium Chainplate Installation...
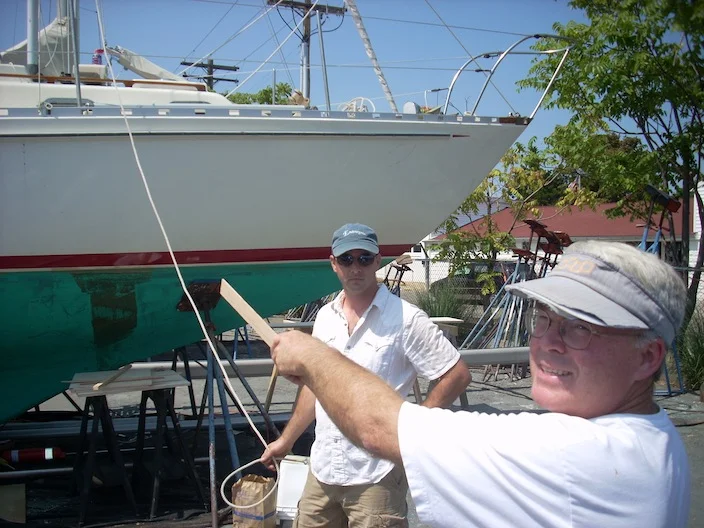
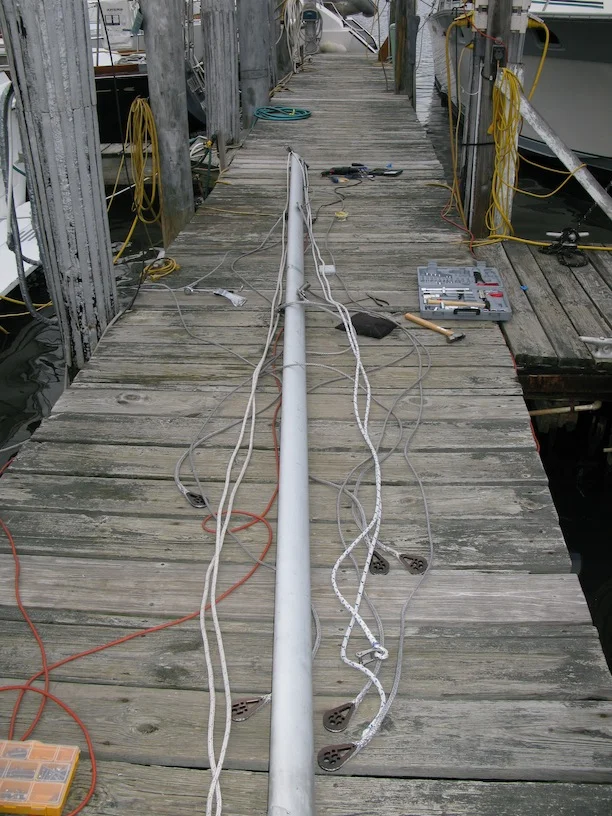
Since you have to get the angles perfect, we stepped the spinnaker pole as a temporary mast, using lines from the top of it to simulate the shrouds...
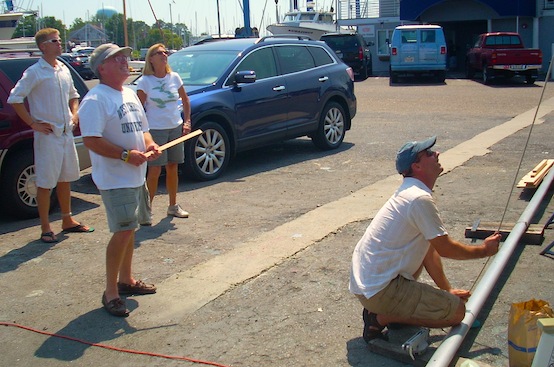
Titanium Chainplate Installation...
…our friend Micah Sauntry helped, as did my dad. Micah held the 'shroud' at the angle it would come off the mast...
Titanium Chainplate Installation...
…and my dad and I would mark the hull where the chainplate would be installed. We did this entirely by eye, and after making all the marks and measuring each side, were within ¼" of exactly matching the port and starboard side. Pretty good guys!
Titanium Chainplate Installation...
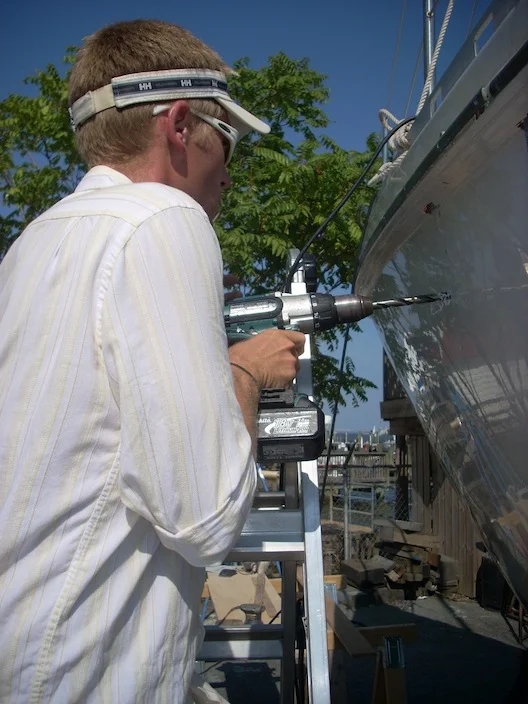
Drilling the ½" holes for the mounting bolts. I made one mistake here, and had to fill 4 giant holes in the hull because I'd drilled them in the wrong spot. D'oh!

Titanium Chainplate Installation...
The port side chainplates installed. The hardest part was cutting through the rub rail, so the chainplates could fit tight against the hull. We backfilled the holes with epoxy and had the hull paint touched up afterwards.

Portside Re-contstruction...
The settee coming to life now, nicely painted. You can see all the storage we gained.

Portside Re-contstruction...
The shelving is complete, now time to lay in the insulation between the stringers.

Portside Re-contstruction...
Fitting the locker hatches. We made these by carefully cutting out the square holes with the circular saw and using the cutouts as the lids.

Portside Re-contstruction...
Insulation starting to go in. We started with expensive 1" closed-cell foam, and then quickly switched to styrofoam when we realized how expensive it would be to do the whole boat.

Portside Re-contstruction...
Mia and my mom carefully measuring and cutting out the pieces for the insulation so it would fit nice and tight.

Portside Re-construction
Mom installing more insulation.

Cape Horn Windvane Installation
Another of my favorite projects. Yves Gelinas came to the boat, measured and built us a custom Cape Horn unit. Now we had to install it...

Cape Horn Windvane Installation
This one was also by eye. It had to be measured perfectly to work correctly, which took us a half a day just to get the marking right before we even started the actual work.

Cape Horn Windvane Installation
Making sure the first hole we drilled through the transom was perfectly level.

Cape Horn Windvane Installation
Leveling the drill. The boat was amazingly sitting almost perfectly level on the hard, so we could actually do this.

Cape Horn Windvane Installation
Drilling that 2-inch hole through that beautiful transom was difficult!

Cape Horn Windvane Installation

Cape Horn Windvane Installation
The hull is incredibly thick here.

Cape Horn Windvane Installation
Hej hej!

Cape Horn Windvane Installation
Leveling the vertical tube.

Cape Horn Windvane Installation
…this took a while.

Cape Horn Windvane Installation
Andy in the lazaretto glassing in the horizontal tube for the wind vane. It literally becomes part of the boat.

Cape Horn Windvane Installation
Well done lads, have a beer!

Cape Horn Windvane Installation
Install complete! Mounting the rudder just to see what it looks like.

Cape Horn Windvane Installation
Sweet!

Insulating Arcturus
Mia was hot! We had to remove all the ceiling throughout the boat and put insulation behind everything, then re-attach it. An easy project, but hot and time-consuming!
The Rig
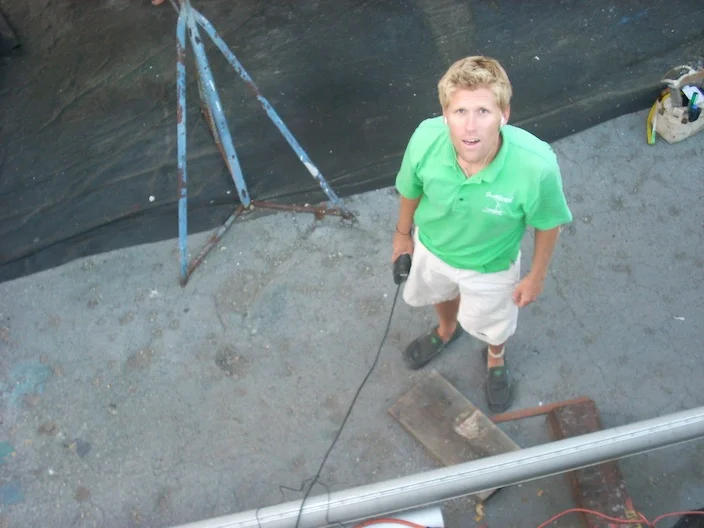
Andy is his Southbound garb. I worked as a rigger that summer (2010), both to make some money and learn the trade so I could do it on our boat.
The Rig
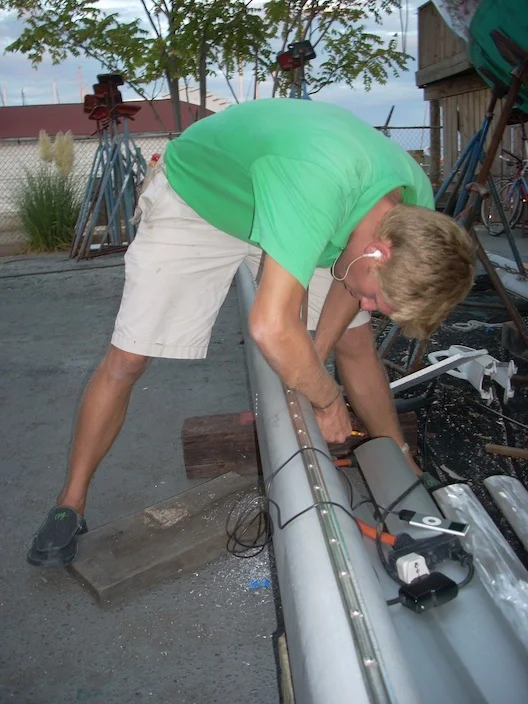
The only thing original is the main mast section, mainsail track and the winches. We stripped it down completely, re-designing it into a double-spreader, double-headsail rig. Lots of aluminum to cut and lots of stuff to mount.
The Rig
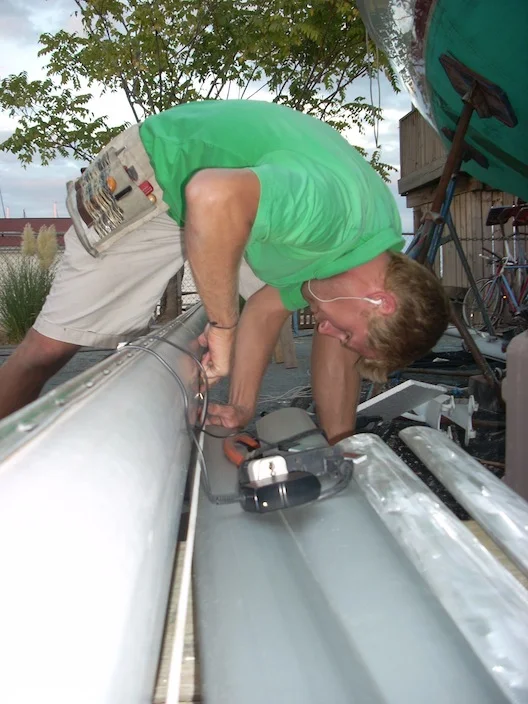
The new spreaders would be mounted using through-mast bars, with the speeders sliding over the stumps that stick out each side, effectively creating a single-piece spreader than goes right through the mast. Better (and stronger) than the old bolt-on mounts.
The Rig
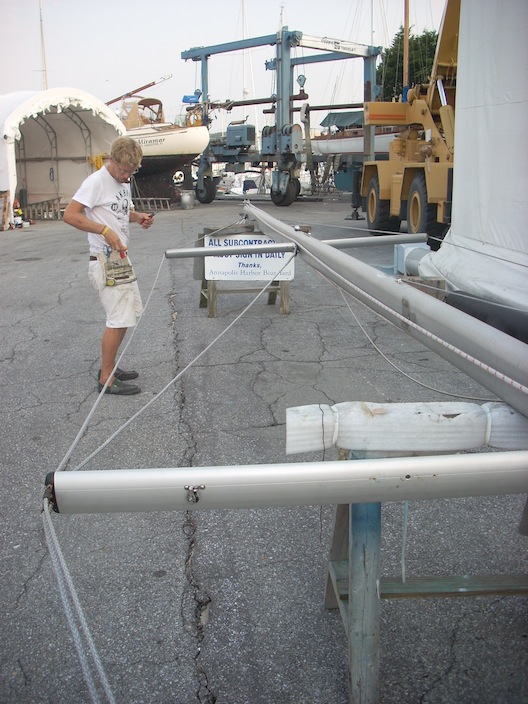
5am on the morning the rig was going back in the boat. We were up tip midnight the night before, so I was dead tired. We had to finish running all the shrouds and halyards, make sure all the cotter pins were installed, etc. Stressfull!

The Rig
The lashings for the Dux shrouds. They were first wrapped in self-amalgamating riggers tape (black), then served with tarred neon (chafe protection at the spreaders), and seized with twine rather than wire.
The Rig
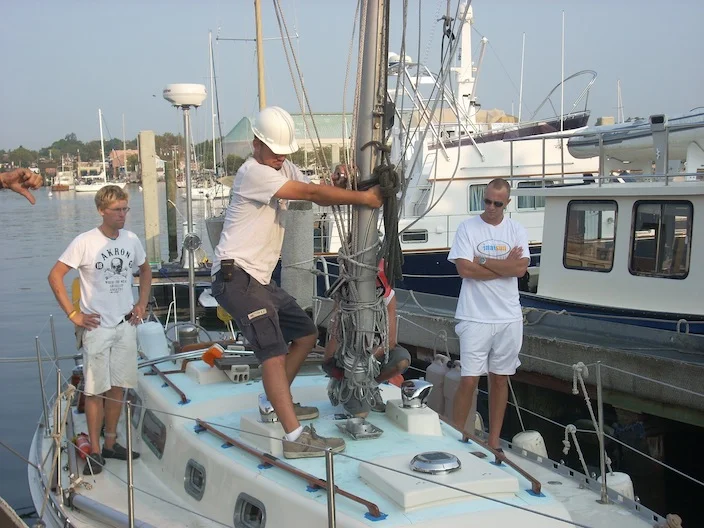
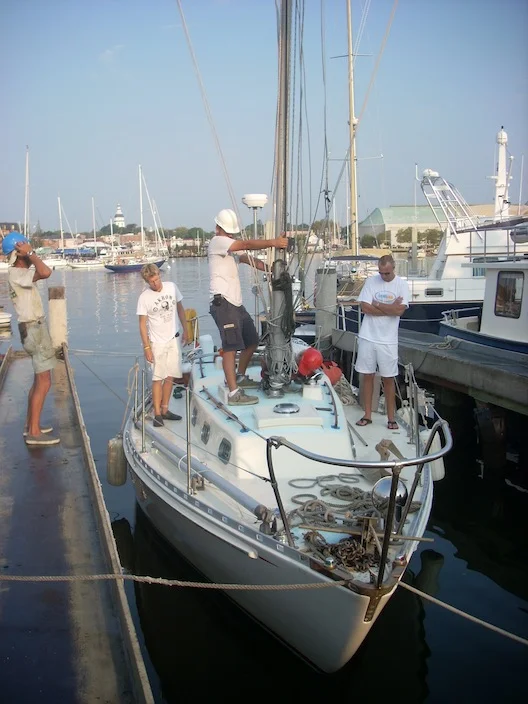
Up she goes! Me and Adam Mogel with the guys from Annapolis Harbor Boatyard helping with the crane.
The Rig

The Varnish
I'm so glad I have a hardworking wife! Mia in Florida (winter 2010) stripping the old Cetol with a heat gun and scraper. It works.

The Dinghy
The old Dyer used to be my mom and dad's Before that, it belonged to the father of a friend of theirs. It's older than the boat (built in the 50s!) and had been up in the barn in PA since the 1970s. We restored it.

The Dinghy
Fixing all the cracks and blemished with thickened epoxy with Adam.

Interior
Anticipating rough weather in the far North Atlantic, we added handholds throughout the interior. You can monkey your way from the companionway to the veeberth now.

Interior
We also removed the door the separated the veeberth from the saloon. We ever closed it anyway!

Interior
Our octopus coat hangar.

Interior
And more handholds in the companionway.

Interior
That's a big drill bit...
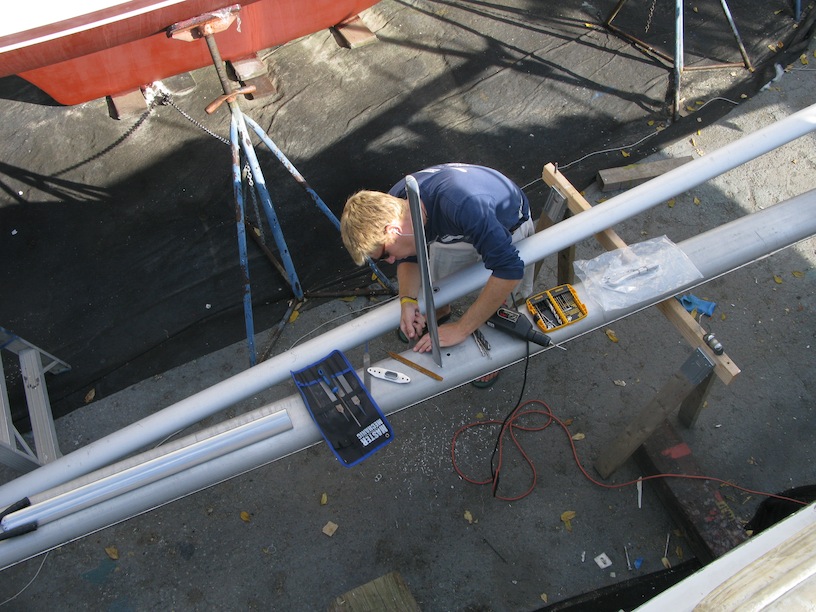
The Rig
Installing the new upper spreaders.
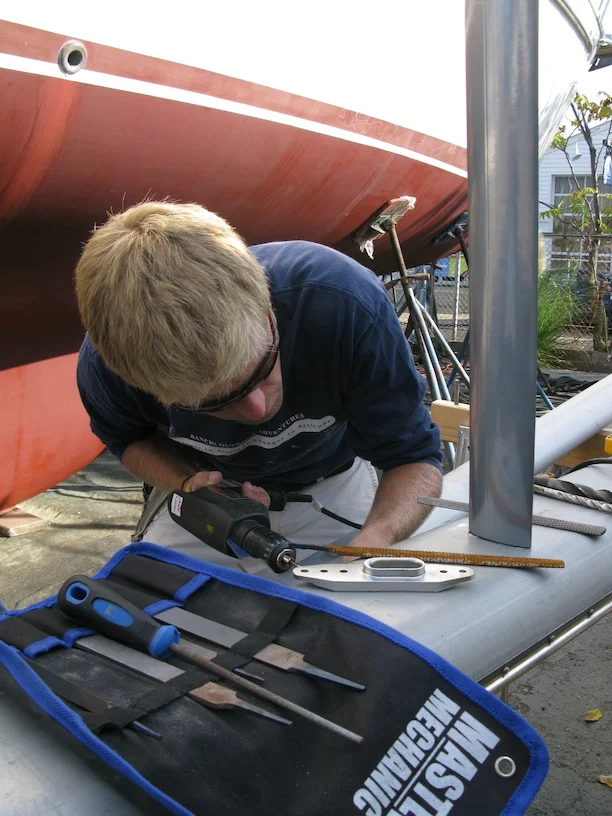
The Rig
We found the uppers at Bacon's, used, for $50.00. They were a mess, so I ground them down and took them to a motorcycle shop in Annapolis and had them powder coated silver to match the color of the mast.
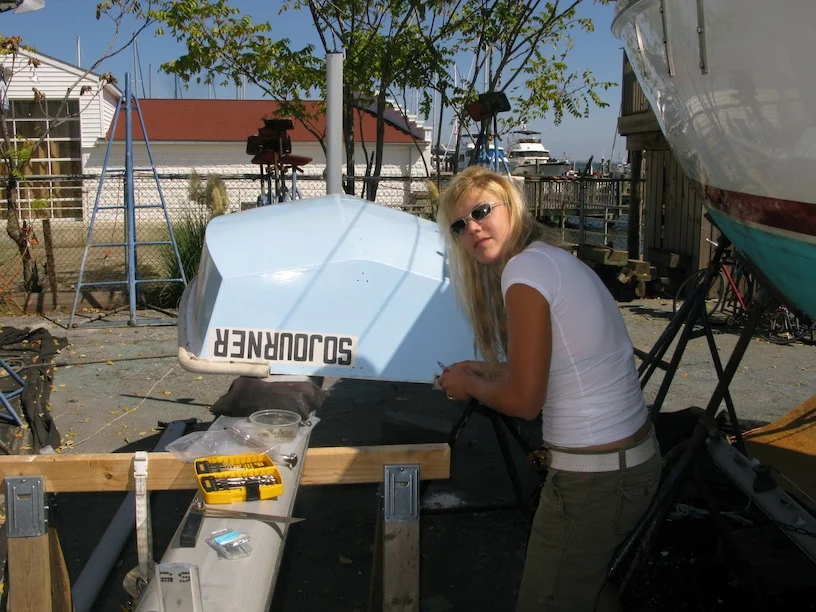
The Dinghy
Mia putting the finishing touches on the new blue paint job. We kept the original 'Sojourner' name on the back for nostalgia - that was the name of my mom and dad's Chesapeake 32 they took to the Bahamas in 1979, with that same dinghy.
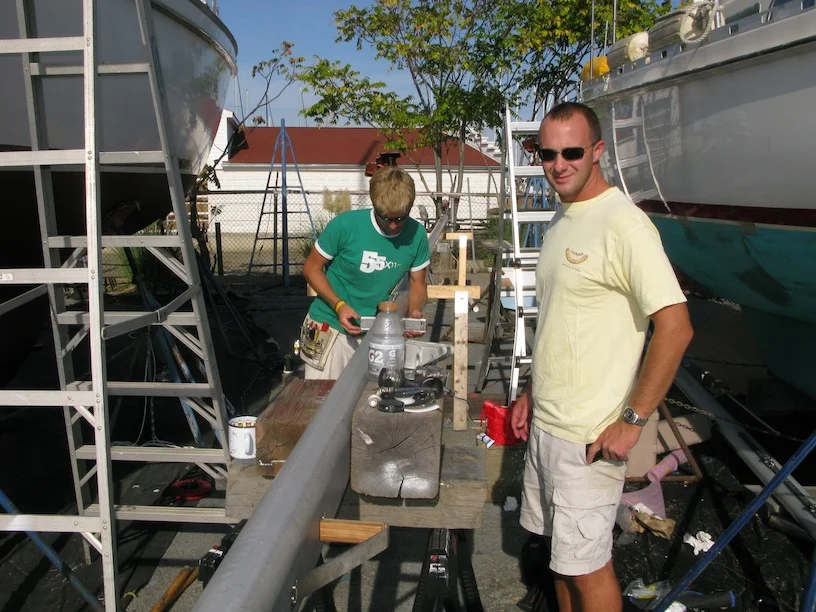
The Rig
Adam and I working on the mast.
The Rig
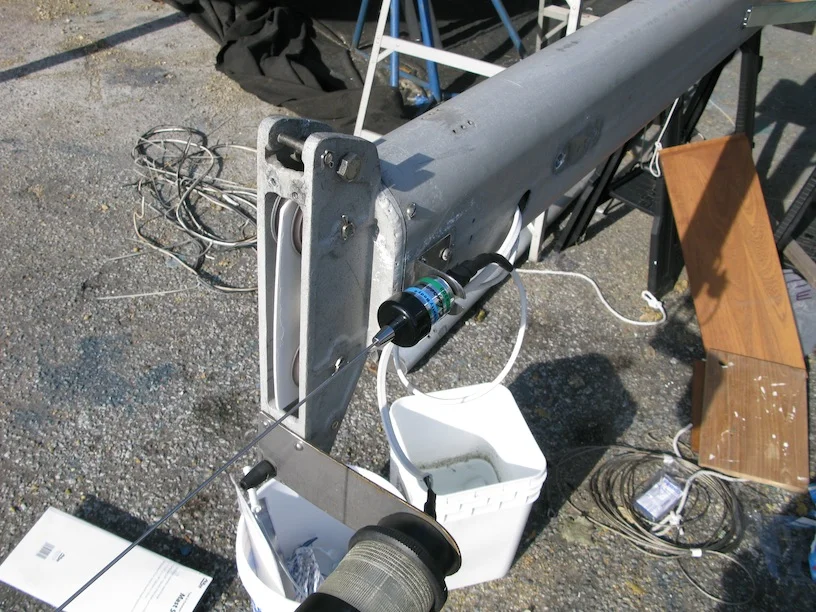
Same masthead fitting, new wiring, new LED bulb in the tricolor and a new masthead VHF antennae.
The Mizzen
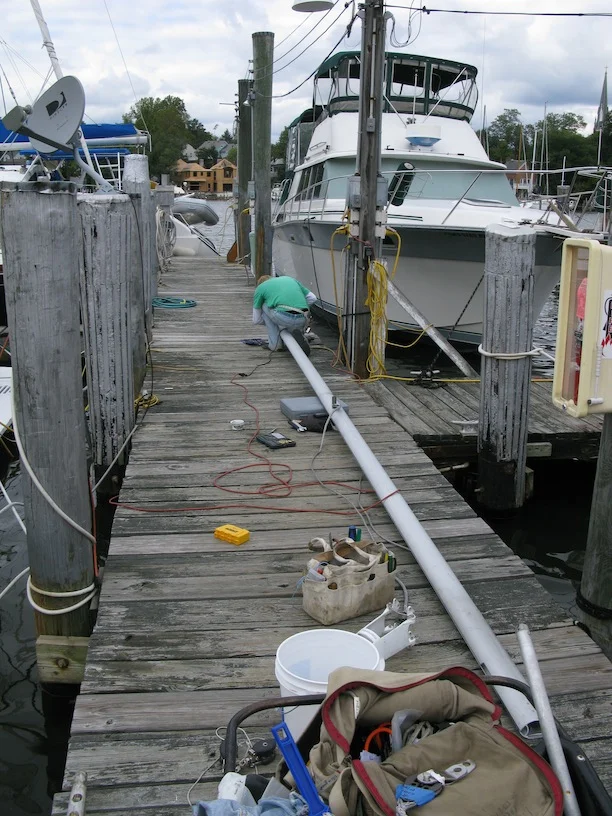
Part of the trouble with a mizzen and a wind vane is the boom being too low…so we raised the mast! Our neighbor at Eastport Yacht Center had a Com Pac 25 - he was replacing his mast, and the old one was just right for our new mizzen. Thanks to Ernie!
The Mizzen
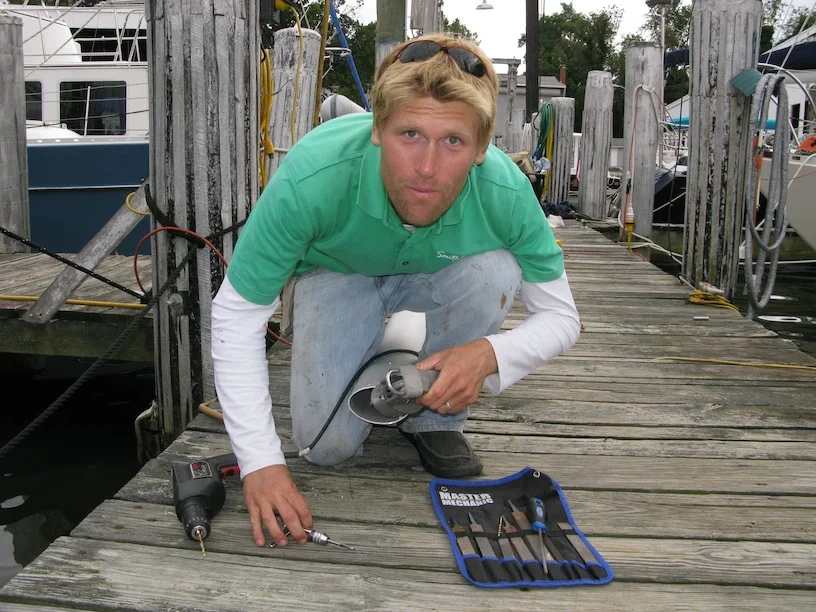
In my Southbound garb again. This is the day before the Annapolis Sailboat Show when Arcturus was in the show to display the Colligo Dux rigging.
The Mizzen
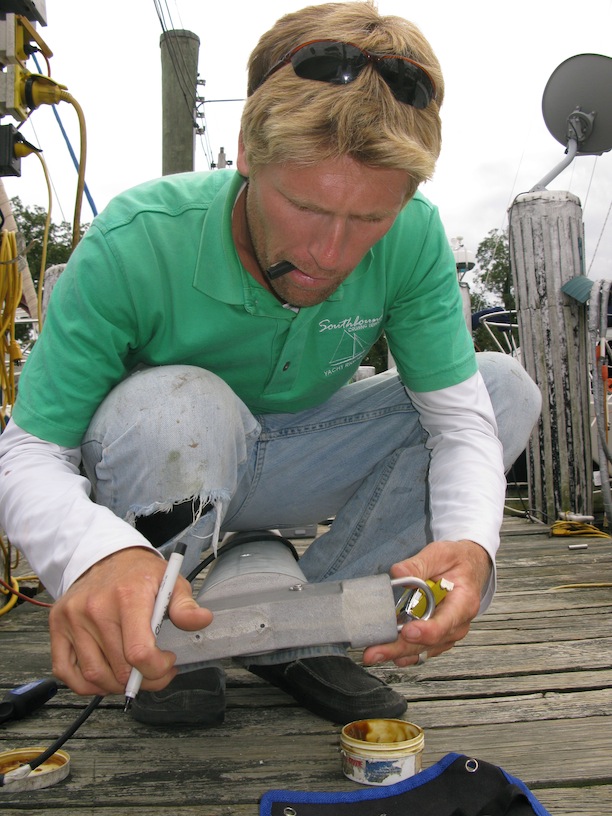
Installing the mizzen masthead after we cut three feet off the top to make it the right height.
The Mizzen
Ready to step the rig with the new Dux shrouds installed. Mia and I can step and unstep the mizzen alone, using the main mast as a crane.

Interior
The diesel heater's new stainless flashing so we don't burn down the bulkhead!

Tiller Conversion
So as to simplify things - and make it easier to connect the wind vane - I removed the binnacle and wheel and installed a tiller. Problem was I had to custom-make a watertight bearing where the rudder post would come through the cockpit sole.

Tiller Conversion
Raw materials - that's a tillerpost extension custom made by Edson (that came with a big bronze clamp to attach it), and the G10 plate I'd use to make the bearing.
Tiller Conversion
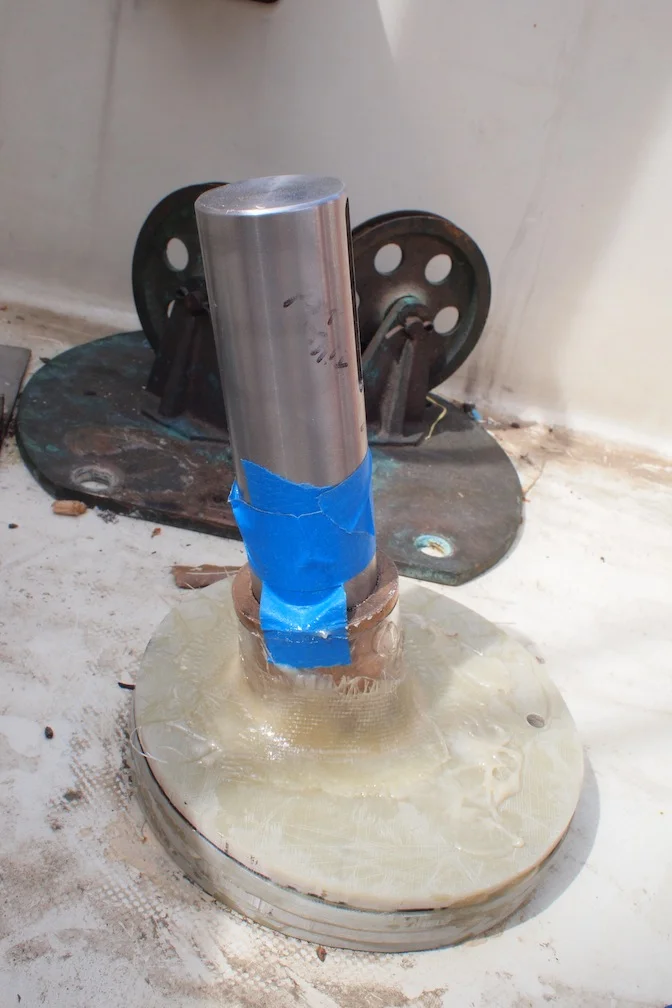
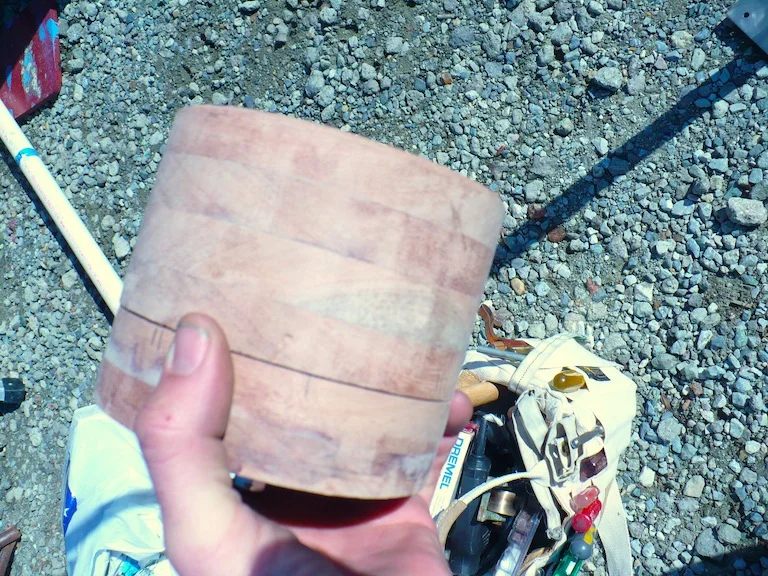
I pressed the bronze bearing into a plastic tube, then glassed the whole thing into the G10 bracket.

Tiller Conversion
The bearing, without the bronze part, curing in John Gorski's shop at Sarles. Thanks John!
Tiller Conversion
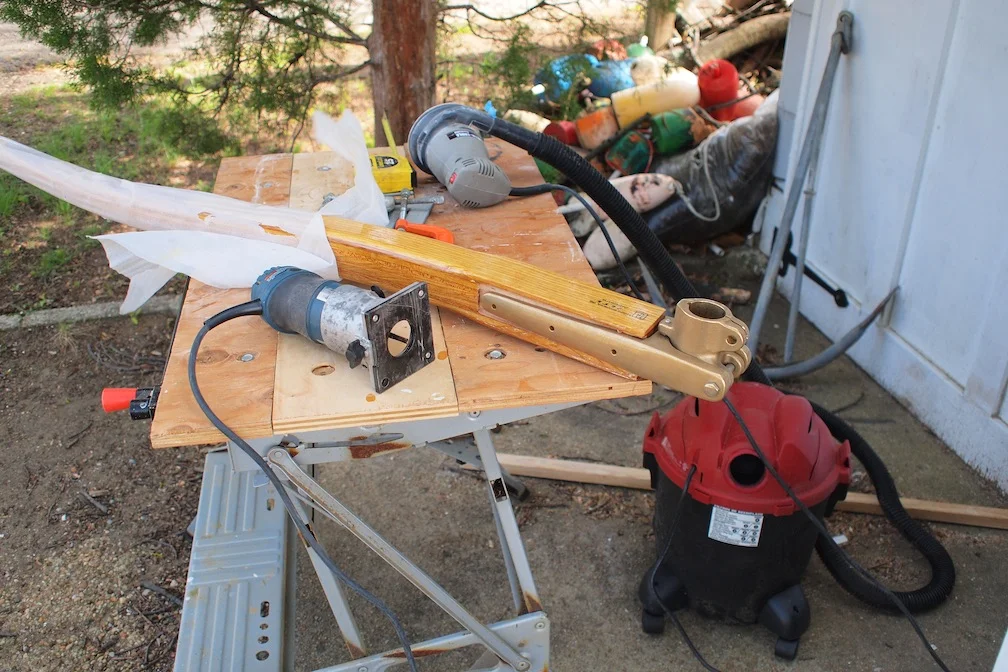
The new tiller (originally from a J/30), with the bronze Edson tiller head attached.

Tiller Conversion
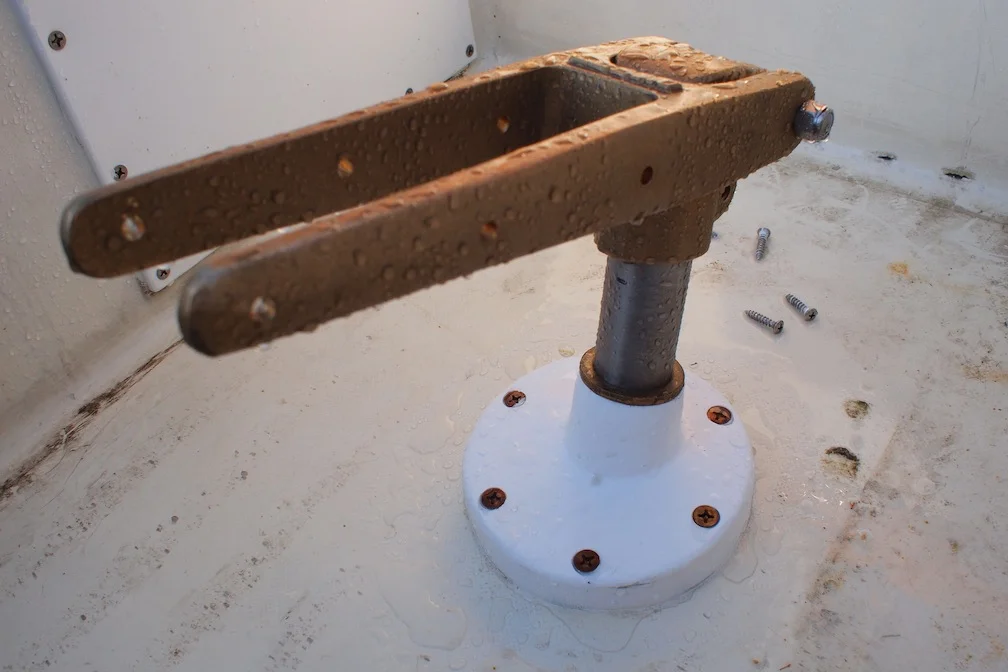
Note the bronze bearing that I'd glass into the G10, which I'd cut into circles and epoxied together for the thickness.
Tiller Conversion
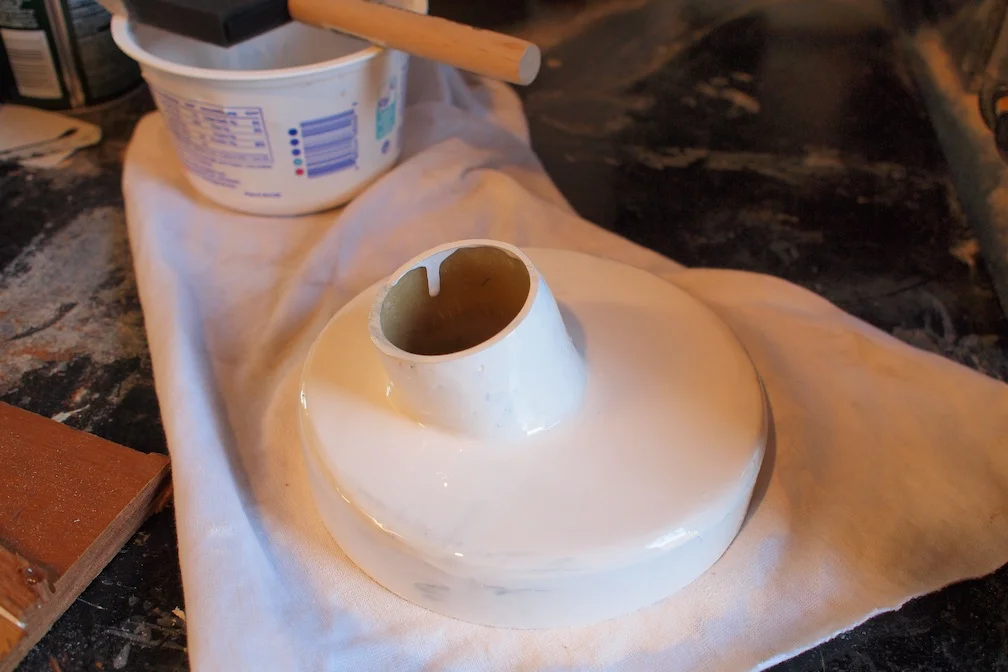
The painted bearing, almost complete...
Tiller Conversion
Finished! The G10 bearing, now painted and bolted to the cockpit sole with sealant, and the bronze bearing installed to accept the lengthened rudder post.

Centerboard Re-design...
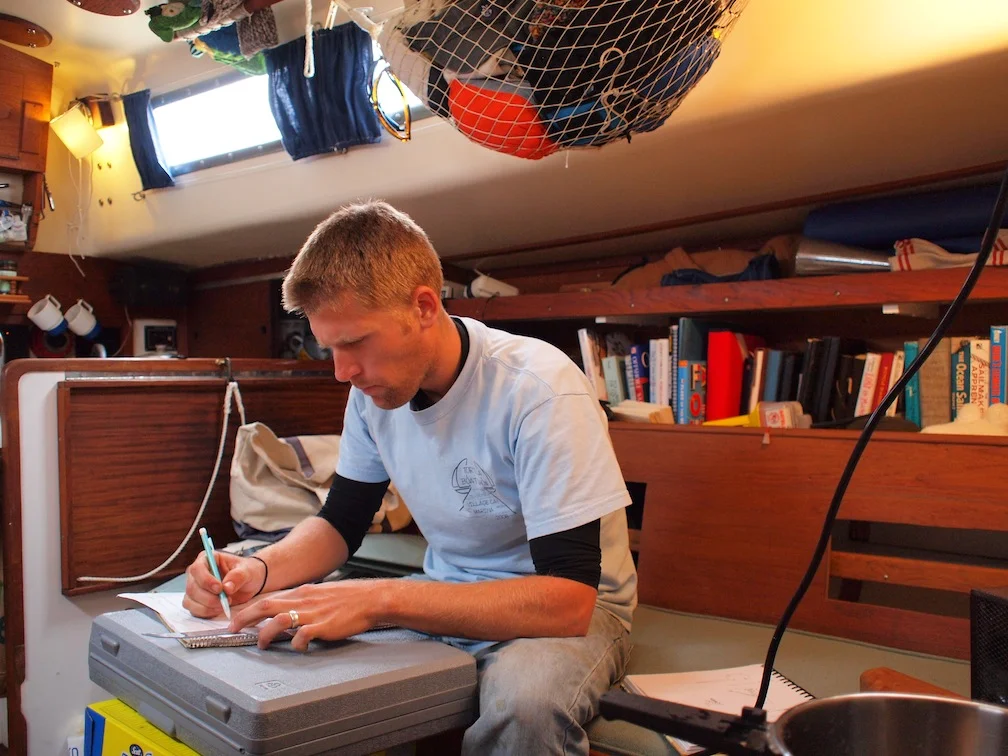
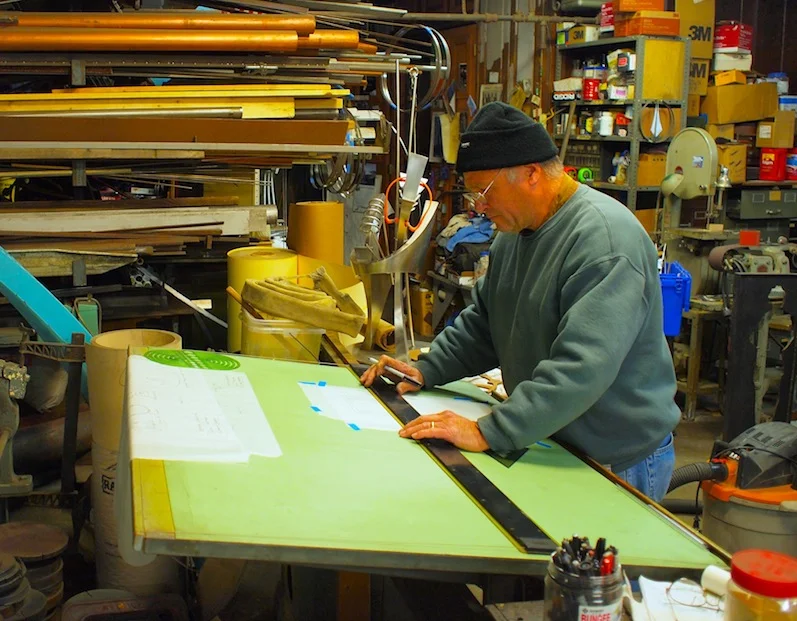
Drawing up plans on graph paper for the new centerboard lifting mechanism.
Centerboard Re-design...
Sculptor Rodney Carroll in his Baltimore studio helping me finalize the centerboard plans before we start cutting and welding stainless.
Centerboard Re-design...
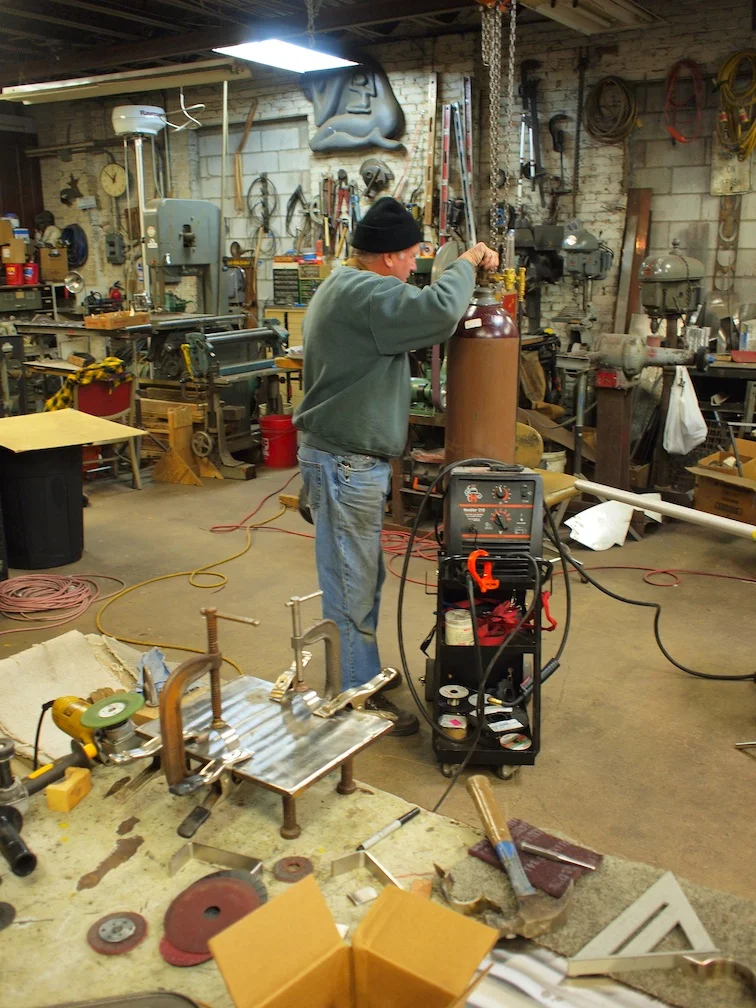
Getting ready to weld the pieces together for the pipe...
Centerboard Re-design...
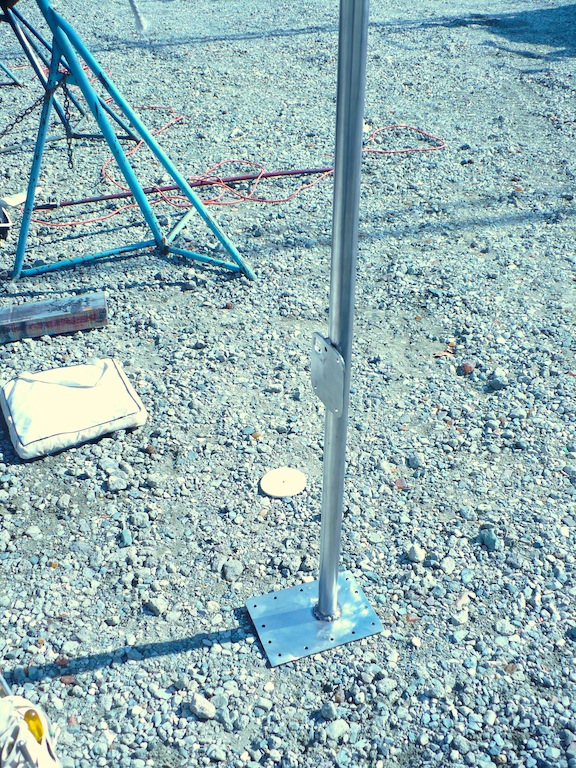
The Seabreeze's were designed after the famous S&S racing yawl Finesterre, and have centerboards. I hate this, but we deal with it. I re-designed the lifting system so that it can be fixed without hauling the boat. This is the completed pipe that Rodney Carroll helped me weld together, just before my dad and I installed it.

Centerboard Re-design...
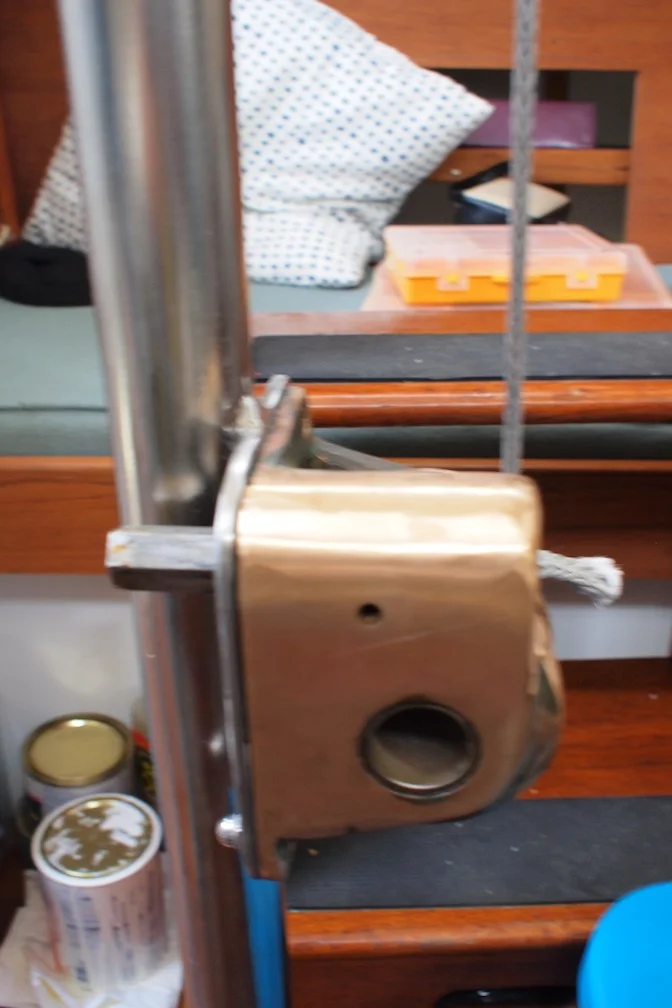
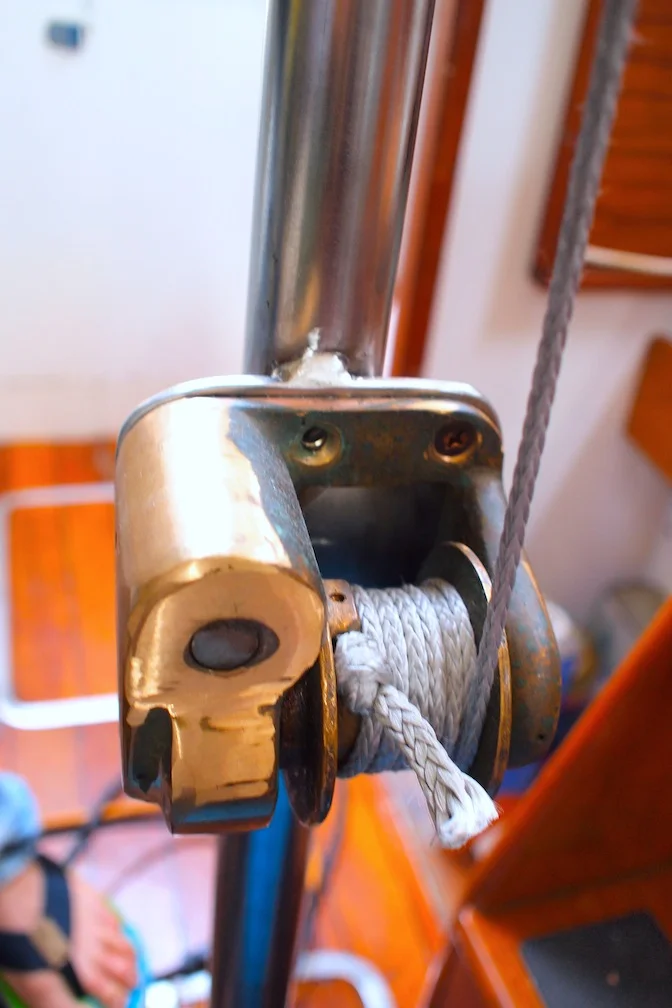
The nice old bronze worm-gear winch that used to hide in the cockpit locker is now on display in the cabin, mounted on the custom bracket we welded onto the pipe.
Centerboard Re-design...
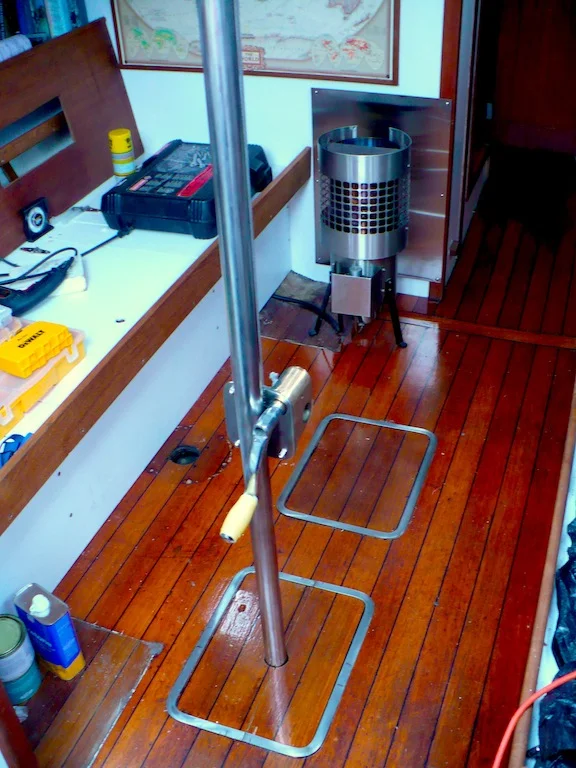
The finished product. Eventually we'll mount a drop-leaf table to this pipe.
Centerboard Re-design...
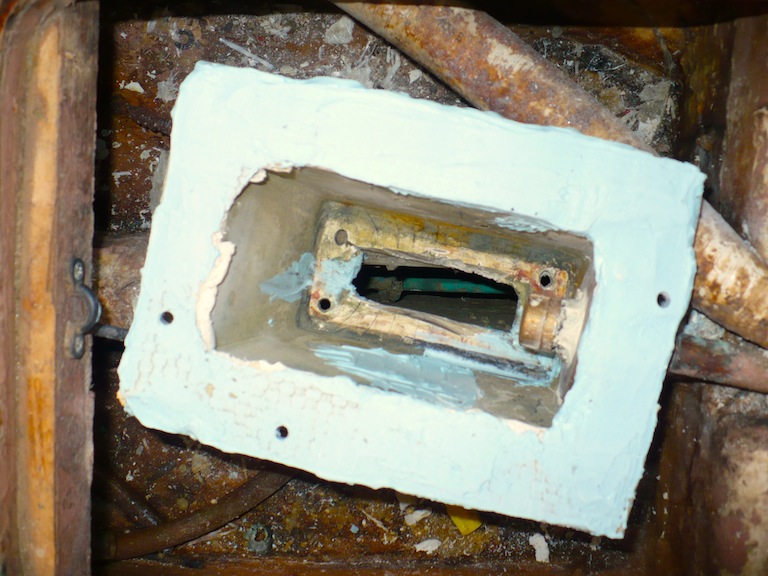
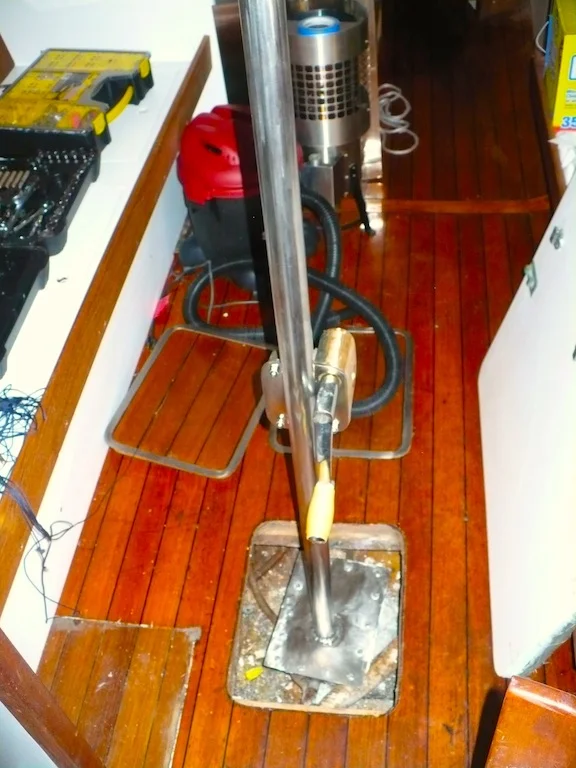
The new stainless plate welded to the bottom of the pipe that serves as the lid to the sheavebox in the keel. This is below the waterline, so has to be watertight.
Centerboard Re-design...
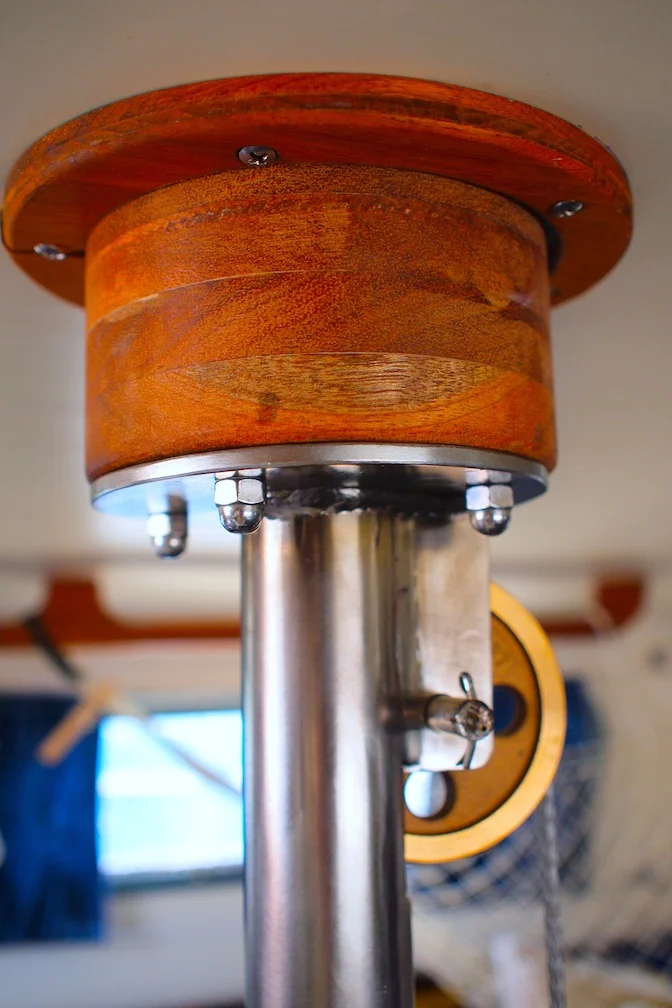
This was the hardest part - designing a new sheave for the c/b cable to exit the top of the pipe. That's an Edson bronze wire sheave, with a custom welded bracket I cut out and Rodney welded together. It's through-bolted through the coachroof, so it's mighty sturdy.
Centerboard Re-design...
The new Dyneema cable wound around the bronze worm-gear winch.
Relaunch
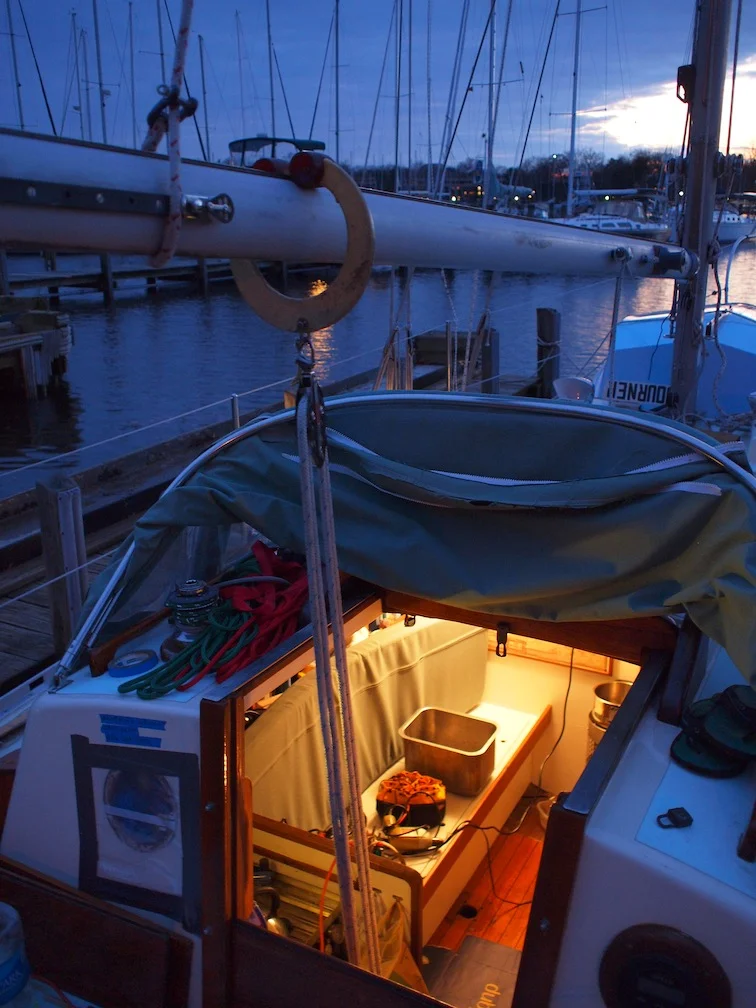
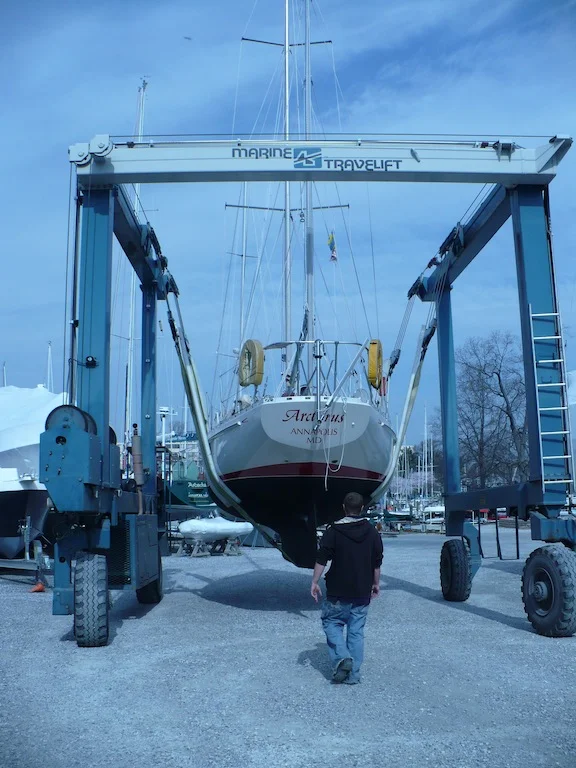
At Port Annapolis, about to go back in the water for the last time before departure.


